
1 pint, which equals 2 cups of cream: For the healthiest option, choose organic or grass-fed cream.
A little salt (optional): For enhanced flavor.
A food processor or hand mixer: If you’re up for a bit more effort, you can also use a blender or a glass jar!
Instructions: How to Make Butter at Home
Pour the cream into the bowl of your food processor or into a large mixing bowl if you’re using a hand mixer.
Whip the cream: Set the mixer to medium-high speed. The cream will first turn into whipped cream. Continue whipping until it separates into butter and buttermilk. This usually takes 5 to 10 minutes.
Separate the butter from the buttermilk: Once the cream has separated, remove the buttermilk (you can use it later for baking or cooking!).
Wash the butter: To remove any remaining buttermilk, rinse the butter under cold water. Use a spatula or your hands to press out as much liquid as possible. This step is very important to ensure your butter keeps longer.
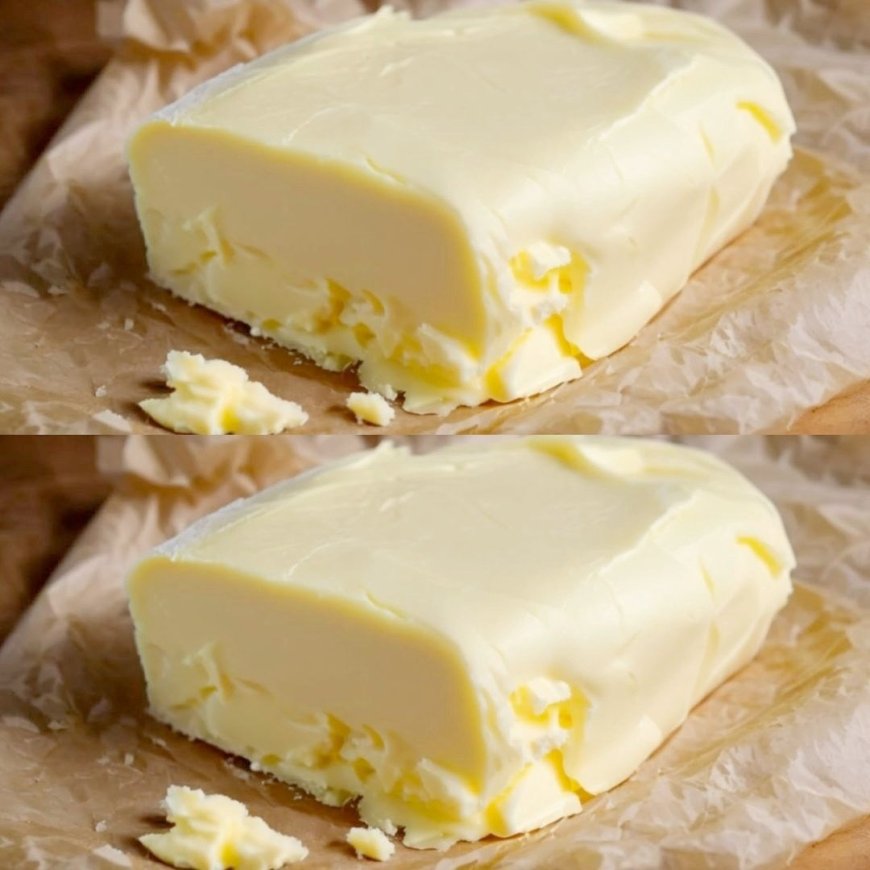
Season and store: If desired, sprinkle a bit of salt over your butter and mix it in thoroughly. Place the butter in a clean container or shape it using parchment paper. Store it in the refrigerator.
Tips for Best Results
Choose high-quality cream: The better the cream, the better the butter. Organic or grass-fed cream tastes best and is the healthiest choice.
Room temperature cream: Let your cream warm up slightly before using it. This speeds up the butter-making process.
Enhance the flavor: To make your butter more flavorful, you can add herbs, garlic, or honey for a gourmet twist.
Final Thoughts
Making your own butter at home is a simple and fun activity that gives you fresh, delicious butter. With just one ingredient, you can create a healthier and tastier alternative to store-bought butter. Try this easy recipe and enjoy your homemade butter on toast, in recipes, or as a special treat.
Happy butter making! 🧈
